Whether you’re a beginner lifter or a well-seasoned vet, sometimes it pays off big time to check your form. Even the best of us can get sloppy in the gym, which can mean poor results and potential for injury. Education and mindfulness can help you nail your workouts safely, getting the most from each move. Don’t underestimate mindfulness. Here are a trio of commonly botched moves, why it’s important for you to get them right and how to fix them if you’ve gotten off track.
Leg Press
Everybody loves a good leg press. You get to sit back and (sort of) relax while you push that weight away from you, building bigger, stronger thighs and glutes as you go. Plus, let’s be honest, it can be a bit of an ego boost. It’s a simple exercise and it’s fun to watch the weight grow as you get better and better. It would be pretty hard to screw this one up, right? It’s just a machine move.
You might be surprised. Even with a machine as your guide, you could be messing up your leg press. Here’s how.
How You’re Messing It Up

According to BodyBuilding.com, the problem that can occur with your leg press begins with lowering the sled too far. You might not even realize it, since you’re seated comfortably, leaning back, well-supported against the pad. As your knees come back and your thighs get closer to your shoulders, your glutes can lift off the back pad, putting your lower spine and discs at a high risk for injury.
How To Fix It
To make sure this doesn’t happen, exert control through the entire exercise. Ease the sled down at an even pace. This will minimize the chance of it flying back down and jolting your spine. Take a minute to check in with your glutes, too. Be mindful to notice at what point they start to lift off the pad. This is where you want to stop even if you might be able to go back further. Increasing the range of motion past this point might spell disaster for your spine. Make sure you’re planting your feet firmly and evenly when you press the weight back up.
Split Squats

Split squats, or lunges, are a killer lower body workout. When done right, you’re engaging your glutes, quads and most of your upper leg, plus the hamstrings for an assist. If you do it wrong, you could end up blowing out your knee. If you want to see all of the benefits of a split squat without landing yourself in the emergency room, learn how to do them properly without putting unnecessary and dangerous pressure on your knees.
How You’re Messing It Up
The easiest way to mess up a split squat is to allow your front knee to extend past your toe when you’re leaning into your lunge. This puts the majority of the load on the ball of your front foot, putting unnecessary pressure on the kneecap and the surrounding connective tissue, according to Men’s Fitness. This can, at the very least, irritate your knee and, at worst, cause serious damage. Be mindful to push through the heel of the front foot.
You can also end up hurting your hip by not allowing your back knee to bend enough when you’re going down. Restricting the movement of the foot, ankle and lower leg can start a chain reaction, according to Men’s Fitness, which can trigger hip pain.
How To Fix It
To fix your form so you don’t get hurt, try setting up your split squat a little differently. Men’s Fitness suggests this alternative to starting in a standing position. Come down on your knees, setting them about hip-width distance apart. As you kneel, elongate your spine and create a strong base from your knees through your hips to your shoulders. Bring one leg forward and plant the heel of that foot directly under your knee, making your thigh parallel with the floor. With your other knee right below your hip, flex your back foot so you’re balanced on the ball with your heel lifted. Lift your chest, lining up your shoulders directly above your hips. From here, push through your front heel and press your body straight up. Keep that strong base and you’ll be safe.
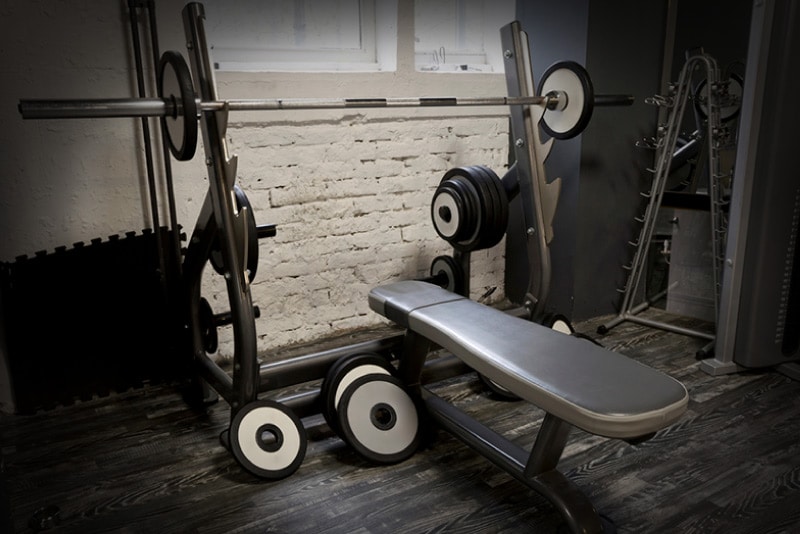
Bench Press
The bench press is a classic. It’s the first thing you learn when you start to lift and one that you keep in your roster forever. That’s because it’s fundamental in the development of your upper body muscles. It works your pecs, your delts, your triceps and your back. It’s going to give you the well-rounded chest and arms that no other exercise can. But despite the ubiquity of the bench press, it’s astonishing how many people are doing it wrong. Don’t let the bench press bring you down.
How You’re Messing It Up
For starters, you’re doing a bench press without a partner. Don’t bench press alone. Please. This is dangerous and dumb. Find a buddy who can spot you while you work and lift the bar off your chest if anything should go wrong. Your body position matters a lot in a bench press too, not only for safety, but for efficacy. Nail your setup and you’ll make sure you’re isolating the right muscles without risking injury.
How To Fix It

When you’re on the bench, widen your grip a little bit. The wider your grip, the less distance the bar has to travel, according to BodyBuilding.com. Line up your arms in a natural push up position, then move your hands out three inches. This will have a positive impact on your results.
Focus on squeezing your shoulder blades together. Mindfully maintain this squeeze through the entire exercise to give you a safe, stable surface to bench from and accelerate your progress.
Keep your feet on the floor when you’re benching, too. Drive down firmly through your heels and avoid the dreaded kicking, flapping motion that can throw you off center. Keep your head, upper back and hips firmly against the bench while you lift, but a little arch in your lower back is all right. Just don’t turn it into a full-on bridge. Making sure you’ve nailed your bench position with these tips will ensure you’re isolating your chest and upper arms without putting pressure on your back or throwing off your balance.